Icon Tutorial # 04
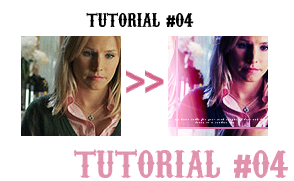
0. Prepare your base by sharpening, blurring, blah blah blah.
1. Create a new layer and fill with # 0d1749. Set to EXCLUSION 100%. Duplicate your base and drag it to the top. Set to SOFTLIGHT 100%.

>>

3. Merge layers [Shift+Ctrl+E]. Go to Filters>Other>Offset. Set horizontal to +8 and vertical to -8. Duplicate and set to SCREEN 70%.

>>

4. Create a new layer and fill with # b87c58. Set to DIFFERENCE 20%.

>>

5. Duplicate [edited offset] base, and drag to the top. Using curves [not an adjustment layer! Just on this layer], go to the blue channel and make input 33 and output 26 [this can also be done with levels]. Ideally, you want something like the picture below. Adjust until you get something like that. When you're done, set that layer to OVERLAY 100%.

>>
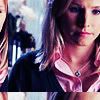
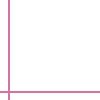
6. I took # d473a5 out of the background, but you don't have to use the exact same colour. Then, using the Rectangular Marquee tool at a fixed size [width: 2px; height: 100px AND THEN width: 100px; height: 2px] fill the edges of the offset picture to create a border.
>>

7. Take this texture by
colorfilter, and set it to SCREEN 100%.

>>

8. Lastly, I used this brush by
wonderland__in white to make it a bit more interesting.

>>

And that's it!