kotono: step 18
Get your foam back out. Here we go again!
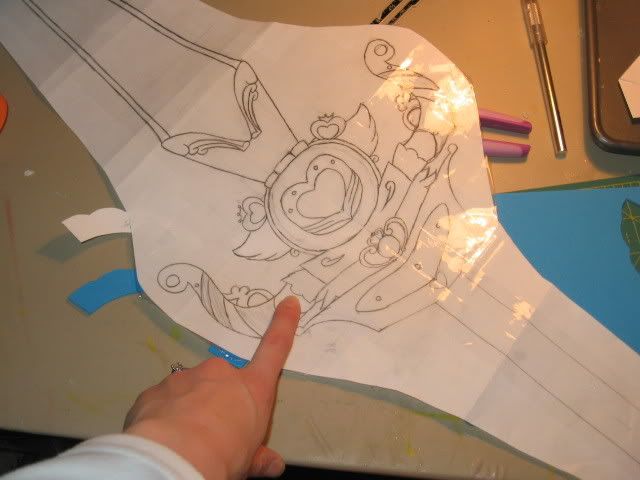
It's time to make these things! I had tried to make them out of model magic when I last used it (when I did the wings and the smaller details and such) but I couldn't get it to wrap around and not flop. So I had to resort to my backup plan. :)
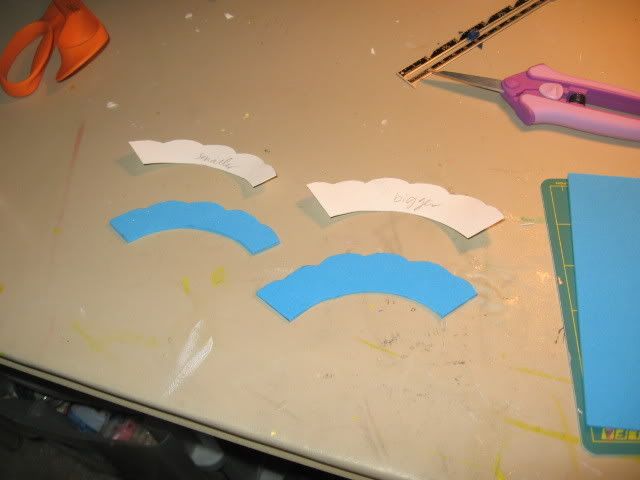
Craft foam. To make this pattern, I started by wrapping a piece of card stock in a cone shape and taping it in place. Then, I trimmed the tip of the cone to get the smaller inner curve. Then I sliced the cone open and trimmed away most of the excess and trimmed it down I got what you see here. The reason I have such a size difference between these two pieces is to better disguise that the hand guard is wider on one side than on the other. The smaller side will go on the smaller one and the larger one will go on the other one. Hopefully, you won't have to deal with this problem as I did. :( Still, it is a good idea to have a separate pattern for each side because the inner curve might be slightly different on each of your individual hand guards. (I actually had to carve some of the model magic away on mine to get this to work!)
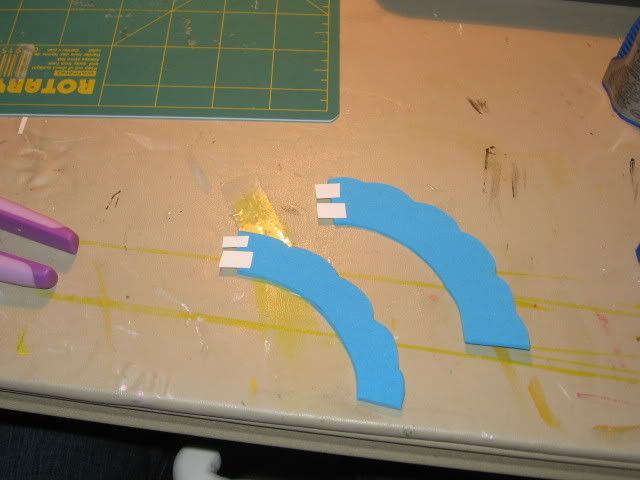
Take some of the excess from the card stock and super glue two small tabs to each piece of foam.
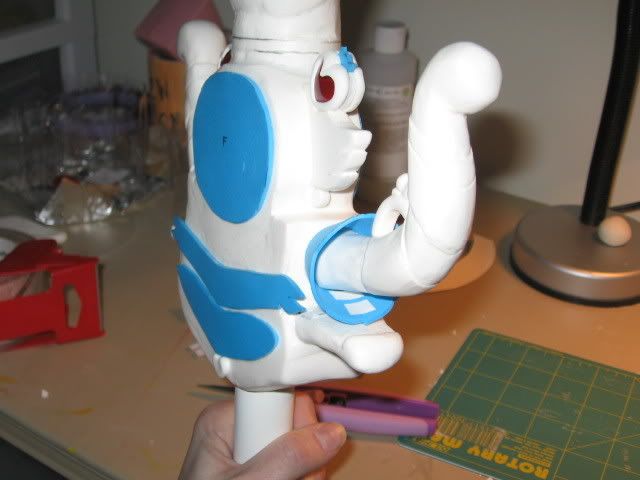
Wrap the foam around the hand guard and glue the other half of the tab to the other side of the foam. This tab helps keep it more secure and shouldn't be noticeable after sealing and painting. At this point, do not attach the foam to any part of the sword. Leave them hanging loose until later. Seal these with 1:8 diluted modge podge, but be careful that they do not accidentally bond to any part of the sword. You'll have to do this in stages.
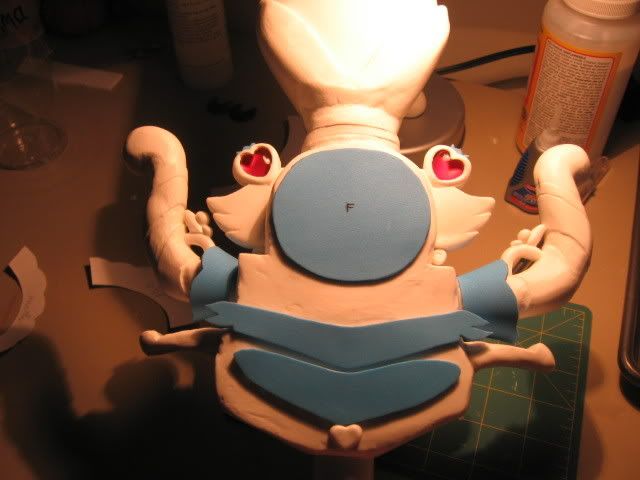
You should have something like this. (F is for Front and will be hidden by the big heart design)
Okay, the next part we're going to do is the bumps above the circle/big heart heart detail, just below the blade.

So! Make your pattern and cut out your foam pieces. That larger piece will be in the back. The smaller pieces are more to-scale and will go around the rest of the way and those are the parts that are better off being seen, anyway.
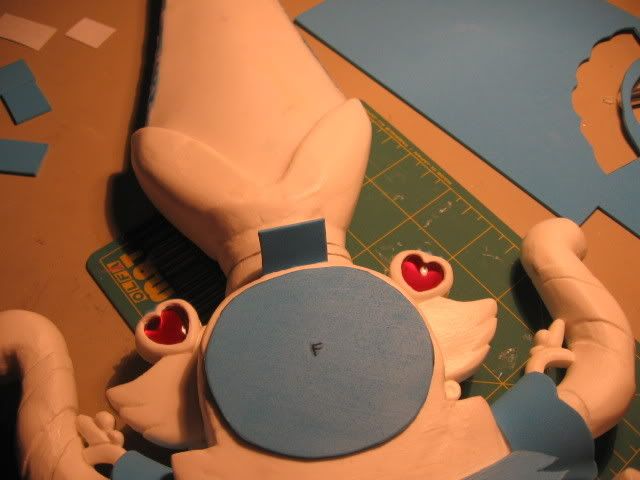
Attach them like so. Start with the bottom and use just a few dots of super glue. Can you see in this picture that I have a line drawn in pencil? That's the top line of the bumps. If you don't have a line drawn like that, you might want to make one and have it go all the way around as straight as possible.
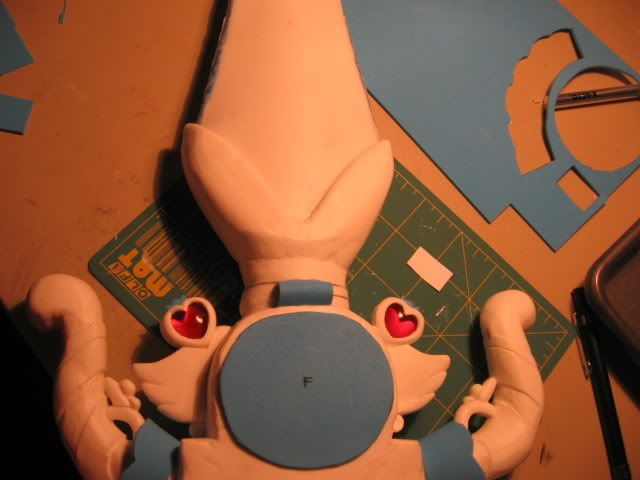
Curve it over to the top to your pencil line and super glue in place. Watch your fingers! :x
Continue in this way all the way around until you have a nice crown of bumpy foamies. For now, all I have is the one, but I'll finish the rest of them tonight. :)
Proceed to Step 19

It's time to make these things! I had tried to make them out of model magic when I last used it (when I did the wings and the smaller details and such) but I couldn't get it to wrap around and not flop. So I had to resort to my backup plan. :)

Craft foam. To make this pattern, I started by wrapping a piece of card stock in a cone shape and taping it in place. Then, I trimmed the tip of the cone to get the smaller inner curve. Then I sliced the cone open and trimmed away most of the excess and trimmed it down I got what you see here. The reason I have such a size difference between these two pieces is to better disguise that the hand guard is wider on one side than on the other. The smaller side will go on the smaller one and the larger one will go on the other one. Hopefully, you won't have to deal with this problem as I did. :( Still, it is a good idea to have a separate pattern for each side because the inner curve might be slightly different on each of your individual hand guards. (I actually had to carve some of the model magic away on mine to get this to work!)

Take some of the excess from the card stock and super glue two small tabs to each piece of foam.

Wrap the foam around the hand guard and glue the other half of the tab to the other side of the foam. This tab helps keep it more secure and shouldn't be noticeable after sealing and painting. At this point, do not attach the foam to any part of the sword. Leave them hanging loose until later. Seal these with 1:8 diluted modge podge, but be careful that they do not accidentally bond to any part of the sword. You'll have to do this in stages.

You should have something like this. (F is for Front and will be hidden by the big heart design)
Okay, the next part we're going to do is the bumps above the circle/big heart heart detail, just below the blade.

So! Make your pattern and cut out your foam pieces. That larger piece will be in the back. The smaller pieces are more to-scale and will go around the rest of the way and those are the parts that are better off being seen, anyway.

Attach them like so. Start with the bottom and use just a few dots of super glue. Can you see in this picture that I have a line drawn in pencil? That's the top line of the bumps. If you don't have a line drawn like that, you might want to make one and have it go all the way around as straight as possible.

Curve it over to the top to your pencil line and super glue in place. Watch your fingers! :x
Continue in this way all the way around until you have a nice crown of bumpy foamies. For now, all I have is the one, but I'll finish the rest of them tonight. :)
Proceed to Step 19