Tutorial - Black and White
Today we're gonna go from this:

to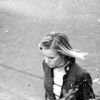
.
Requested by tune.
Tutorial made using PS7.
1. Once you’ve cropped and reduce the size of your icon to 100x100pixels, take your base and desaturate it. (Ctrl + Shift + U)
-
2. It’s clearly too dark, so duplicate your base and set it to screen 100%.
-
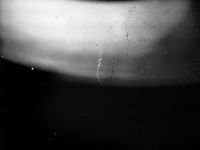
3. Take this texture by peoplemachines, paste it on top and set it to soft light 100%.
-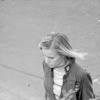
4. Now, duplicate your base once again and bring to the top and set to soft light 100%
-
5. Flatten your image.
6. Go to Image - Adjustments - Brightness/Contrast and set Brightness at +5 and Contrast at +20.
-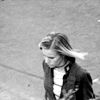
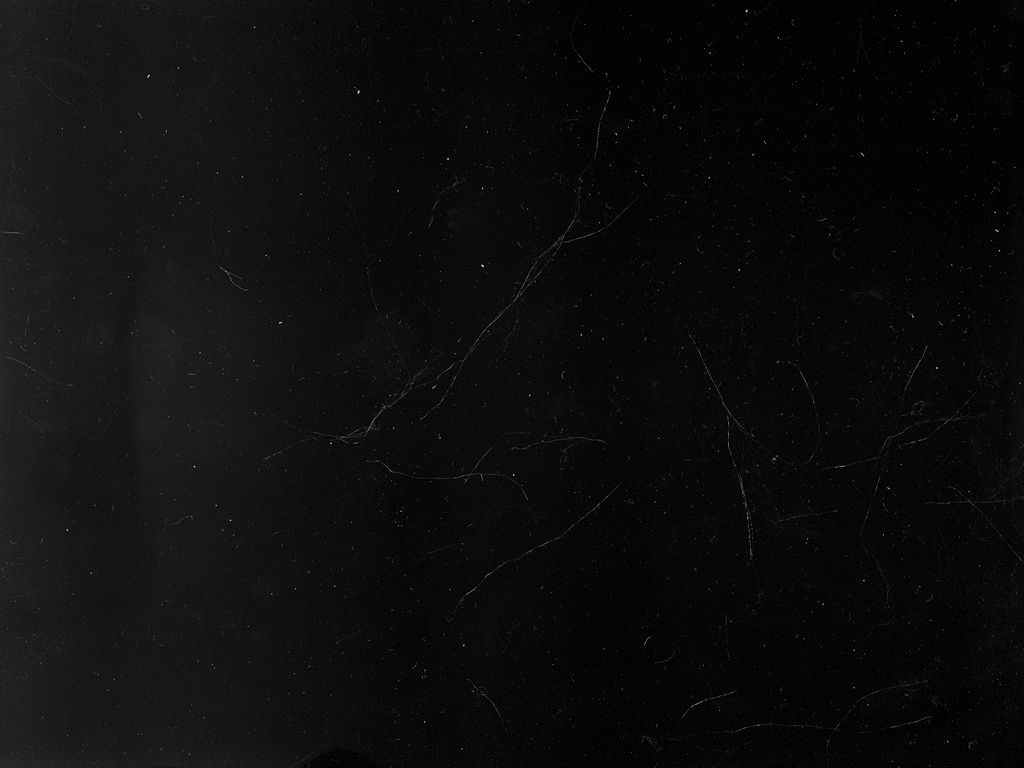
7. Take this texture by lovelamp, paste it on top and set it to screen 100%.
-
8. Take this texture by exit47, paste it on top and set to screen 100%. I moved it closer to the top so it wasn't covering any part of Veronica and it was just a light accent.
-
9. Finally, take this texture by peoplemachines, paste it on top and set to screen 100%.
-
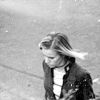
Flatten and you're all done!
Hope that was helpful. :)
Comments are appreciated.
to
.
Requested by tune.
Tutorial made using PS7.
1. Once you’ve cropped and reduce the size of your icon to 100x100pixels, take your base and desaturate it. (Ctrl + Shift + U)
-
2. It’s clearly too dark, so duplicate your base and set it to screen 100%.
-
3. Take this texture by peoplemachines, paste it on top and set it to soft light 100%.
-
4. Now, duplicate your base once again and bring to the top and set to soft light 100%
-
5. Flatten your image.
6. Go to Image - Adjustments - Brightness/Contrast and set Brightness at +5 and Contrast at +20.
-
7. Take this texture by lovelamp, paste it on top and set it to screen 100%.
-
8. Take this texture by exit47, paste it on top and set to screen 100%. I moved it closer to the top so it wasn't covering any part of Veronica and it was just a light accent.
-
9. Finally, take this texture by peoplemachines, paste it on top and set to screen 100%.
-
Flatten and you're all done!
Hope that was helpful. :)
Comments are appreciated.