Two in one night!
Ok so I figured I would post these tomorrow but since I'm not quite tired yet, and I hit a wall in the story I'm trying to write, I figured rather than sit here with a thumb up my bum I'd do something semi-productive and post these picks...with a thumb up my bum.
So yeah about all that digital inking mumbo-jumbo I was talking about in my last post, here's a blow by blow of what the process looks like going from initial scan of rough pencils to finished piece. Whilst talking to the mouth breathers at work I doodled this litle zombie guy and figured I liked him enough to finish him.
Step 1: Rough pencils scanned;
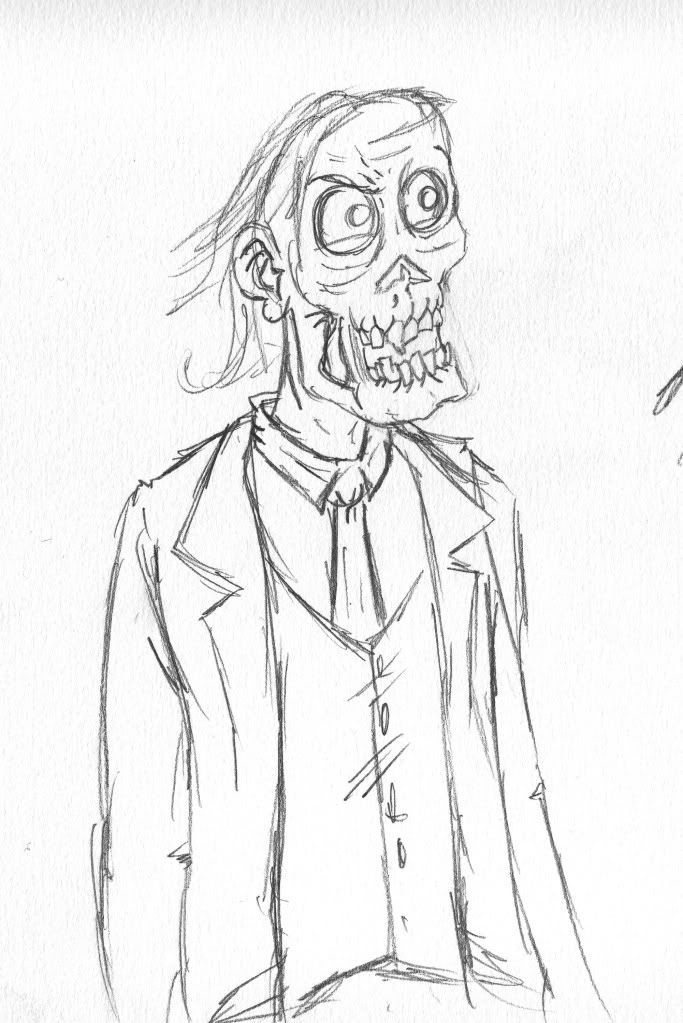
Step two; Croping the picture and flood filling an undertone.
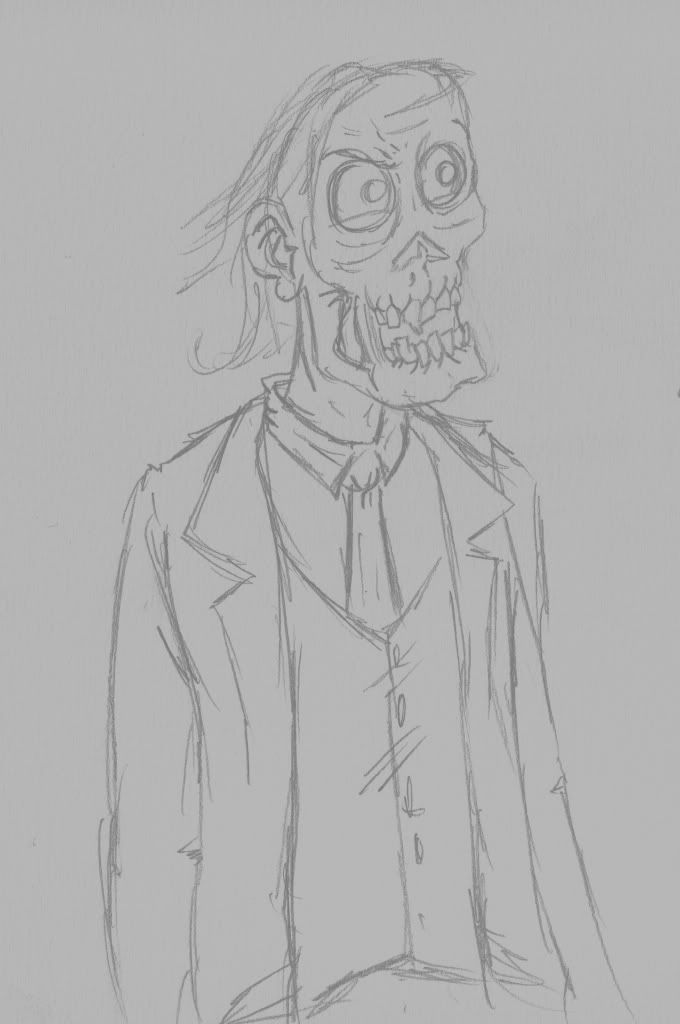
Step 3: Outlining. (AKA Tracing)
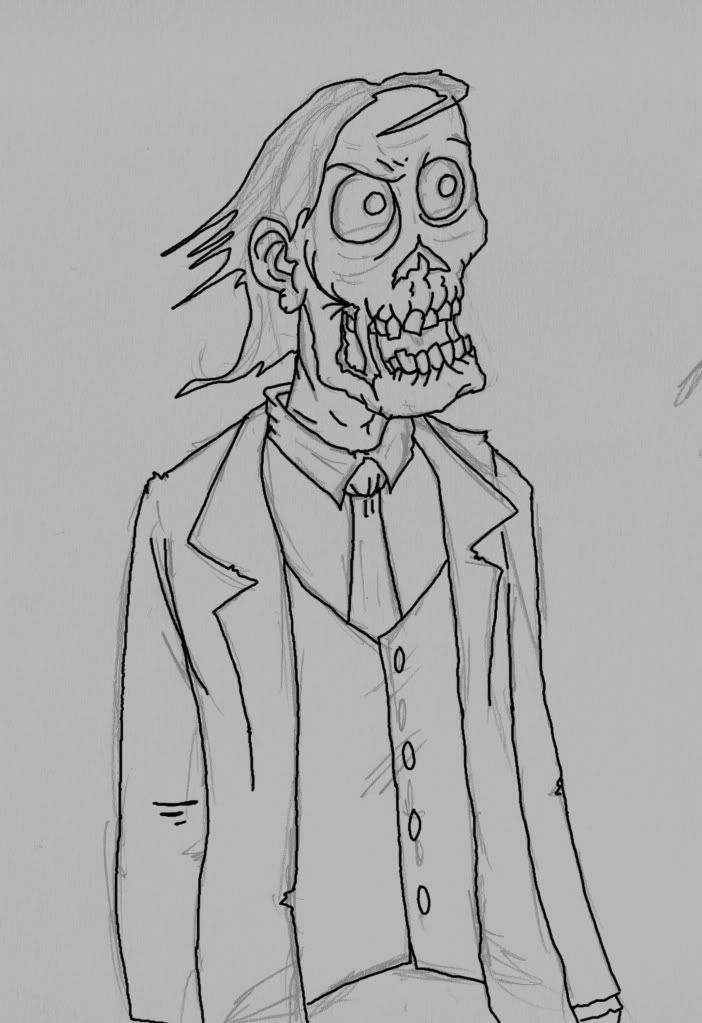
I'm sure you can see that I only used the pencil lines as a rough guideline. More often than not when I'm inking something I notice stuff I dislike about the initial sketch and decide to make a lot of changes during this phase of the piece.
Step 4: Flat tones
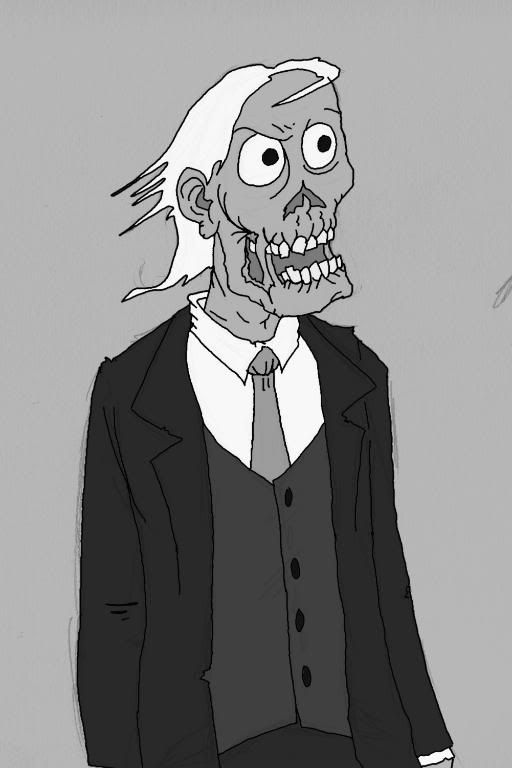
Basically all I do in this stage is pick the basic undertones that I know I want before building any textures or shadows over it.
Step 5: Texturing.
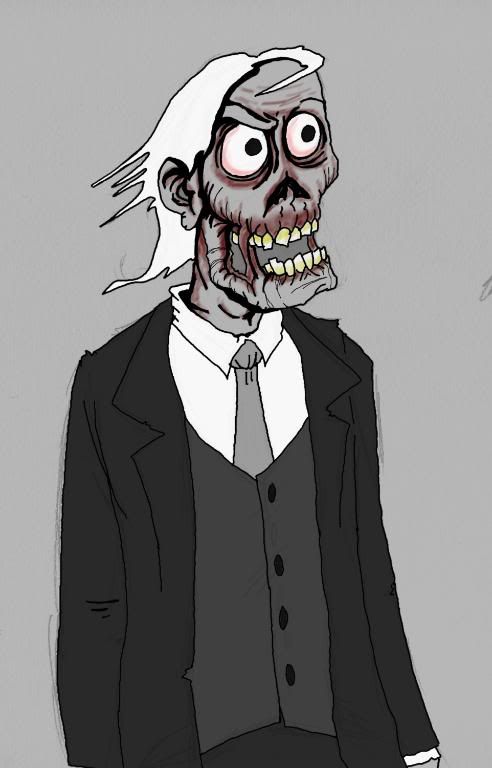
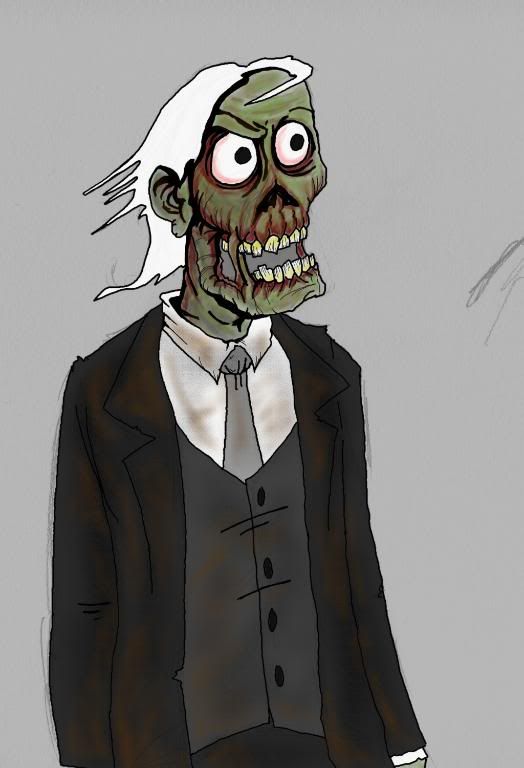
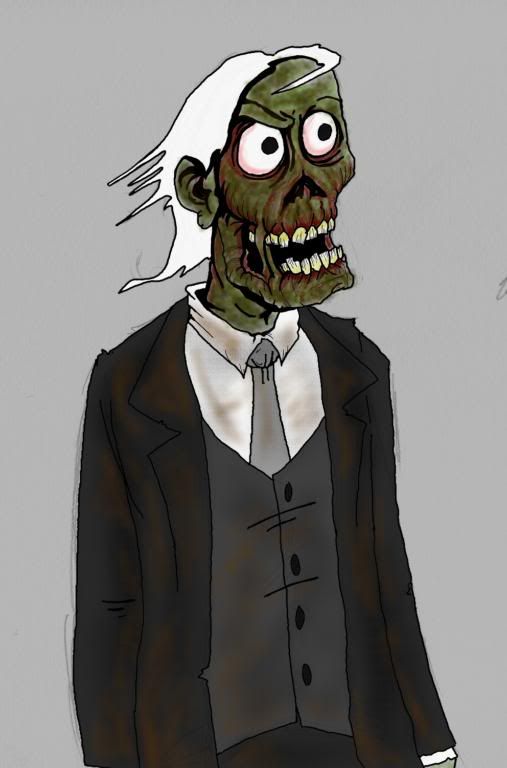
With these last three images it may not seem like I did much, but I layered many textures and tones onto the drawing, which will eventually all be brought together in the shading process, which is of course the next step.
Step 6: Shading.
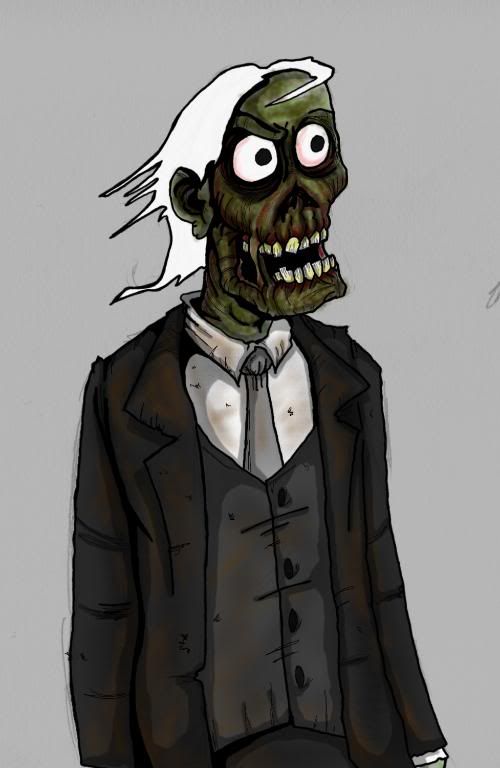
This step is pretty self-explanatory as all I did here is add shadows and smooth out the textures from the previous step.
Step 7: Detailing.
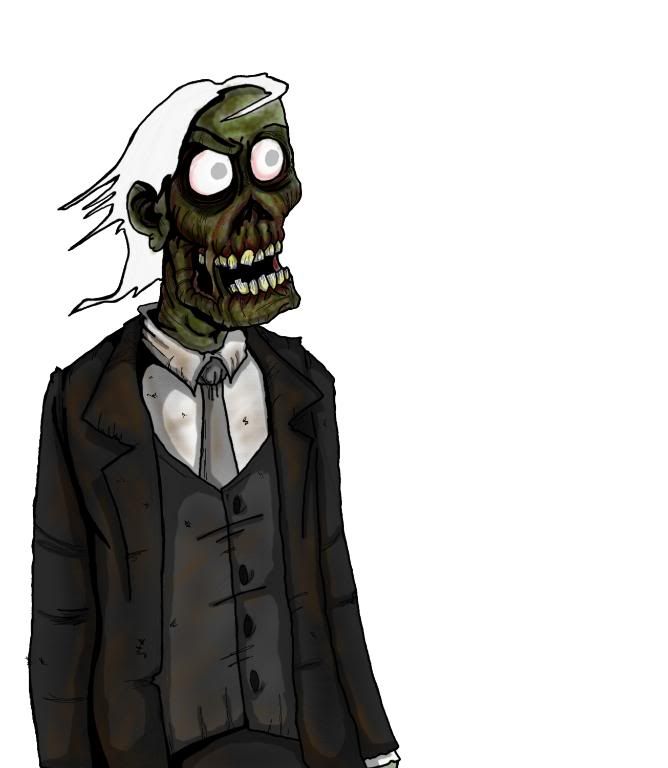
By this point I'm pretty much done, but I go over the drawing and make small changes where I see fit, like glazing the eyes and adding snags and fraying to the coat.
Step 8: Background.
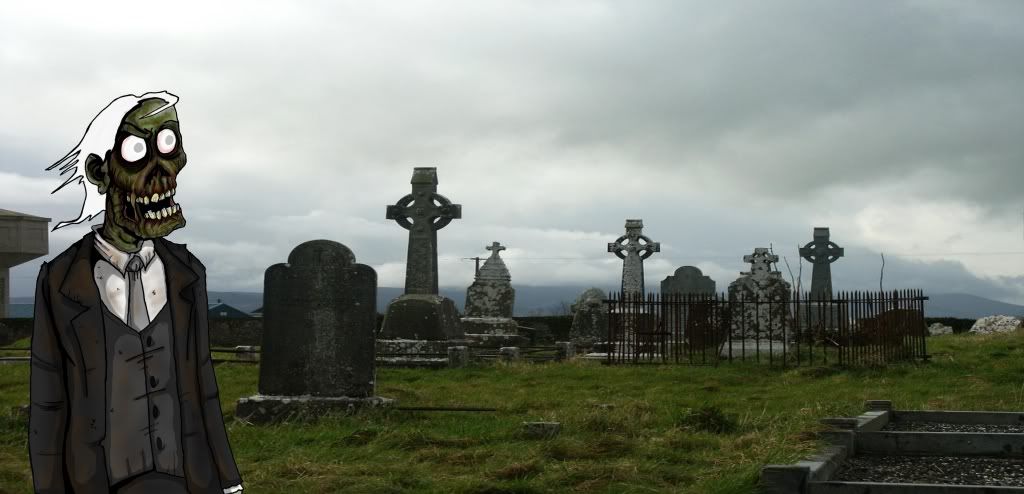
I know it seems ass backwards to worry about the background after the fact but for the most part thats how I've always done it. I have a background in mind for the image but I usually wait until the end to throw it in there. In this case I found a picture of a graveyard that fit really close to what I had in my head when I was working on this guy.
Step 9: Bringing it all together.
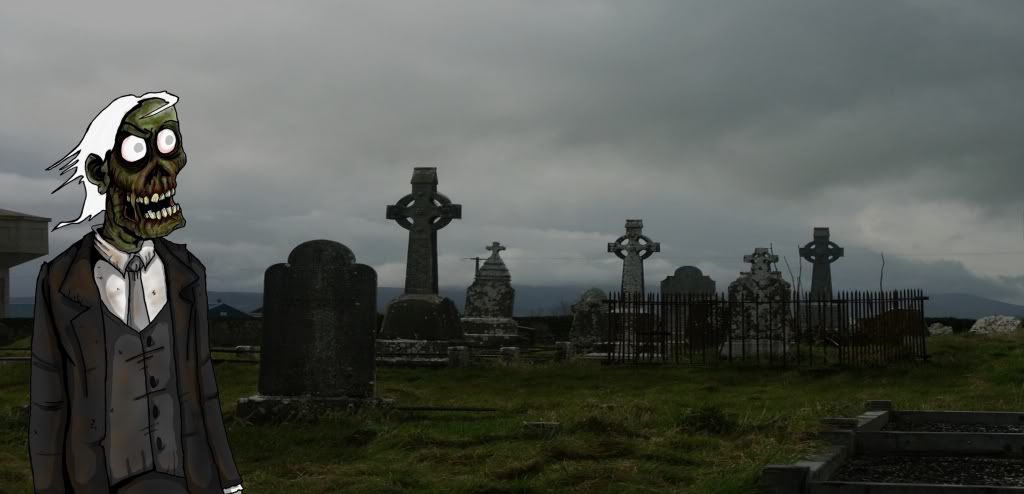
Here's where I change the photo to fit what I was picturing, as well as smooth out all the lines and textures so it flows together. And thats pretty much it.
I'm not sure if anyone really wanted to see what the process I go through is like, but I felt sharing anyway so Nyah! Hopefully you dig what ya see. Anyhoo thats all for now, peace out bitches!
So yeah about all that digital inking mumbo-jumbo I was talking about in my last post, here's a blow by blow of what the process looks like going from initial scan of rough pencils to finished piece. Whilst talking to the mouth breathers at work I doodled this litle zombie guy and figured I liked him enough to finish him.
Step 1: Rough pencils scanned;

Step two; Croping the picture and flood filling an undertone.

Step 3: Outlining. (AKA Tracing)

I'm sure you can see that I only used the pencil lines as a rough guideline. More often than not when I'm inking something I notice stuff I dislike about the initial sketch and decide to make a lot of changes during this phase of the piece.
Step 4: Flat tones

Basically all I do in this stage is pick the basic undertones that I know I want before building any textures or shadows over it.
Step 5: Texturing.


With these last three images it may not seem like I did much, but I layered many textures and tones onto the drawing, which will eventually all be brought together in the shading process, which is of course the next step.
Step 6: Shading.

This step is pretty self-explanatory as all I did here is add shadows and smooth out the textures from the previous step.
Step 7: Detailing.

By this point I'm pretty much done, but I go over the drawing and make small changes where I see fit, like glazing the eyes and adding snags and fraying to the coat.
Step 8: Background.

I know it seems ass backwards to worry about the background after the fact but for the most part thats how I've always done it. I have a background in mind for the image but I usually wait until the end to throw it in there. In this case I found a picture of a graveyard that fit really close to what I had in my head when I was working on this guy.
Step 9: Bringing it all together.

Here's where I change the photo to fit what I was picturing, as well as smooth out all the lines and textures so it flows together. And thats pretty much it.
I'm not sure if anyone really wanted to see what the process I go through is like, but I felt sharing anyway so Nyah! Hopefully you dig what ya see. Anyhoo thats all for now, peace out bitches!