Sarah Michelle Gellar Icon Tutorial
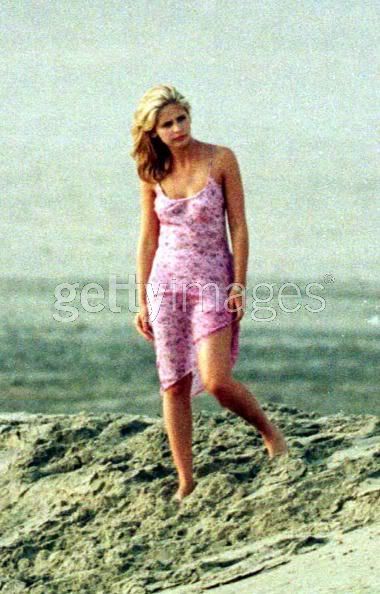
from this image to this: 
Level: Intermediate, i expect people to know their way around photoshop when i mention tools
1
crop and resize your icon, use the smudge tool size 7 to lightly smudge the watermark away
2
duplicate your layer and set it to screen. i used an opacity of 39% but it will differ depending on your image brightness. I also used filter> sharpen on this layer
3
Duplicate again and set it to soft light again at 39% but again it will differ with your image. You need a good contrast, I also used filter> gaussian blur set to 2.0 on this layer
4
open a selective colour layer: values are-
REDS: -73, 0, +36, 0
YELLOWS: 0,0, -59,0
GREENS: +100, -57, +29,0
CYANS:+100,-46,0,0
WHITES: 0,0,0,-28
NEUTRALS: +30, 0, -21,0
BLACKS: 0,0,0,+22
5
add a hue/saturation layer. Values are:
REDS: +5
YELLOWS: +14
CYANS:+8
BLUES:+51
6
Add a new selective colour layer
CYANS: +26, -25,-59,0
BLUES: +51, +28, -36,0
7
Add text. I used Eras light ITC size 36. I duplicated this text layer to make the text stand out more
remember to tweak this tut to make it work for example for portraits rather that landscapes
use this texture
between point 3 and 4.
click on the relevant image for more tutorials by me


Level: Intermediate, i expect people to know their way around photoshop when i mention tools
1

crop and resize your icon, use the smudge tool size 7 to lightly smudge the watermark away
2

duplicate your layer and set it to screen. i used an opacity of 39% but it will differ depending on your image brightness. I also used filter> sharpen on this layer
3

Duplicate again and set it to soft light again at 39% but again it will differ with your image. You need a good contrast, I also used filter> gaussian blur set to 2.0 on this layer
4

open a selective colour layer: values are-
REDS: -73, 0, +36, 0
YELLOWS: 0,0, -59,0
GREENS: +100, -57, +29,0
CYANS:+100,-46,0,0
WHITES: 0,0,0,-28
NEUTRALS: +30, 0, -21,0
BLACKS: 0,0,0,+22
5

add a hue/saturation layer. Values are:
REDS: +5
YELLOWS: +14
CYANS:+8
BLUES:+51
6

Add a new selective colour layer
CYANS: +26, -25,-59,0
BLUES: +51, +28, -36,0
7
Add text. I used Eras light ITC size 36. I duplicated this text layer to make the text stand out more
remember to tweak this tut to make it work for example for portraits rather that landscapes

use this texture

between point 3 and 4.
click on the relevant image for more tutorials by me