Sewing Diary: Snapdragon, stage 2 - part 1.
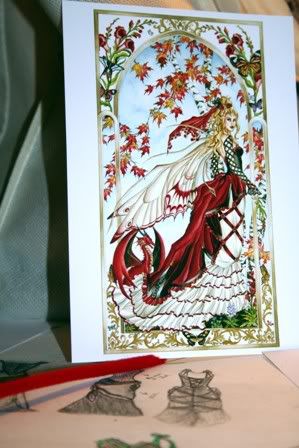
For a refresher, here is the dress I'm making. Snapdragon, by Nene Thomas.
I'm designing it myself from scratch because it doesn't exist in reality, lol.
I decided to keep a project diary to track my steps.
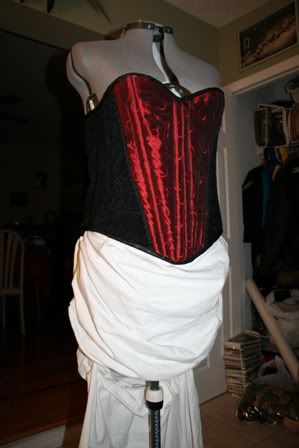
The first part of Snapdragon was the corset.
Part 1 of stage 1 is here. On to part 2: the underskirt.
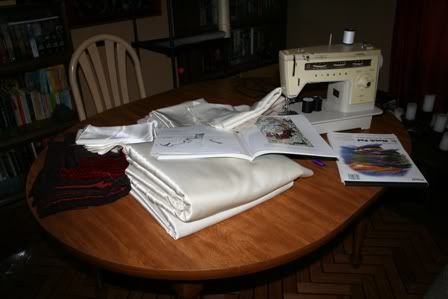
The underskirt is a 3-layer skirt. I'm using satin, crinoline, and a fine sheer home decorater viole for lining.
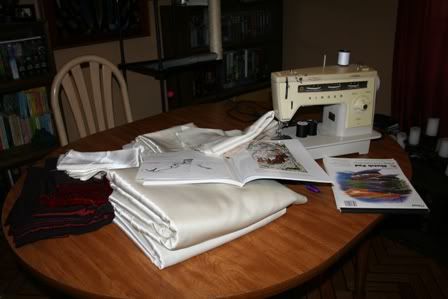
Ignore my dining room, PLEASE. Ha. This is the FRONT panel of the underskirt. It ended up being 5 panels.
Yes, that IS a lot of satin, why do you ask? O.o
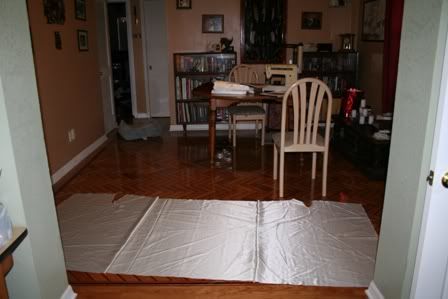
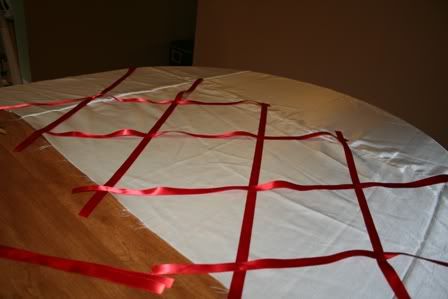
After cutting the panels and serging them, I needed to figure out how to duplicate the cross-pattern ribbon on the upper half of the underskirt.
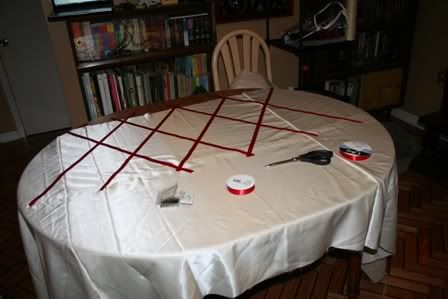
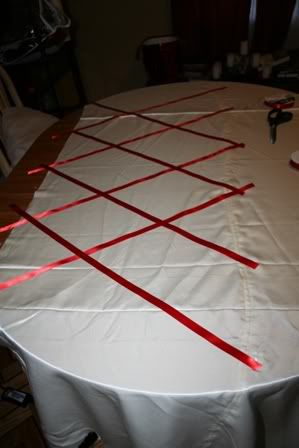
I layed the ribbon out along the length of the part I wanted to cover. I also added a small section underneath on the midline to hold a band of elastic for after the skirt is bustled. You can see the guide here.
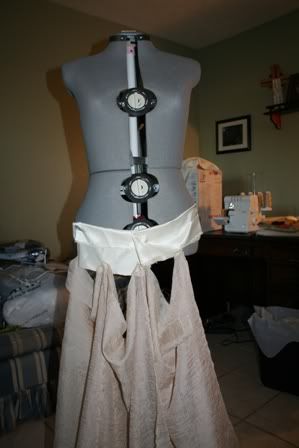
Taking a break from the ribbon for some thinking time, I made a satin waistband so I'd know how much room I had to pleat the layers.
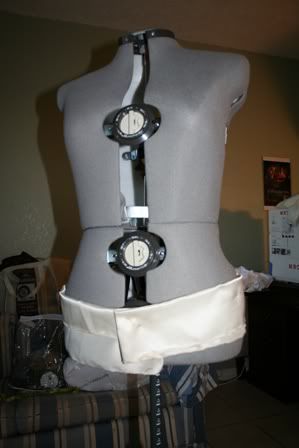
I started attaching the viole to the band one tack at a time, to get the pleats even, seams facing out.
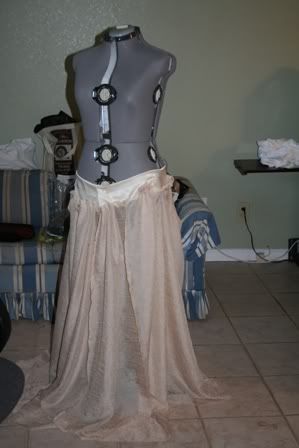
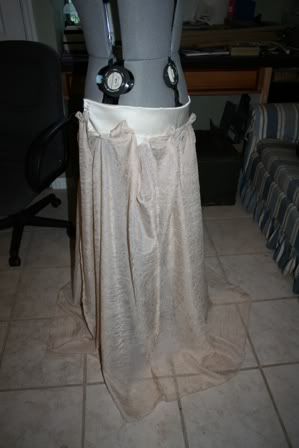
When that was done, I tried to visualize how I should attach the crinoline. I only needed it for the upper part of the underskirt.
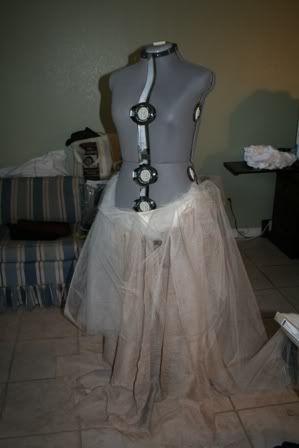
I ended up making it as a seperate piece.
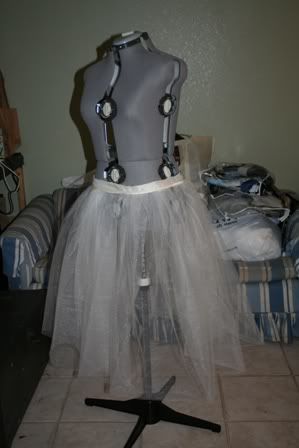
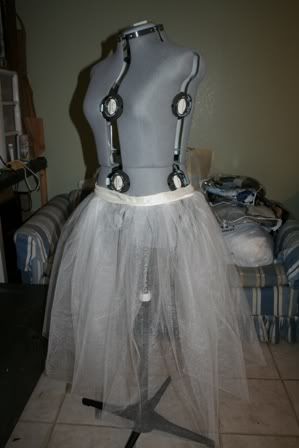
I sewed the 2 parts to the band.
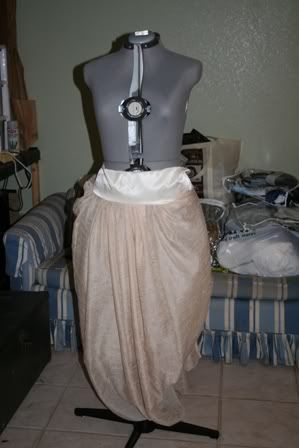
Then I flipped them inside out.
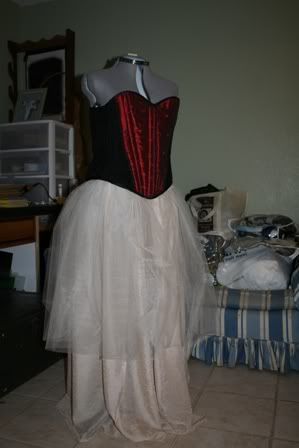
Then I had the interior of the underskirt.
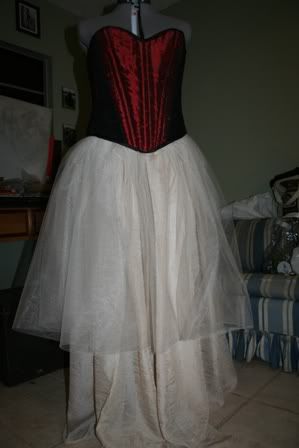
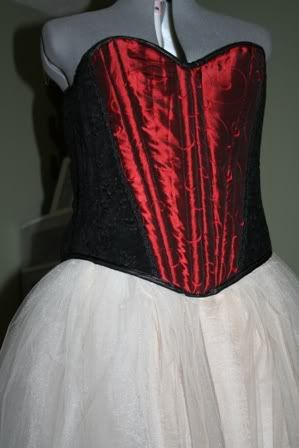
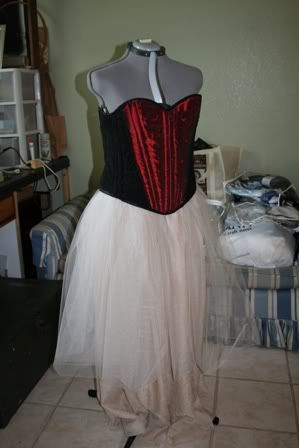
Nothing for it but to go back to the ribbon puzzle!
In an attempt to keep myself motivated, I tried the little roses I bought to make sure they match the painting - and I love them!
These will be at each intersection once the underskirt is finished.
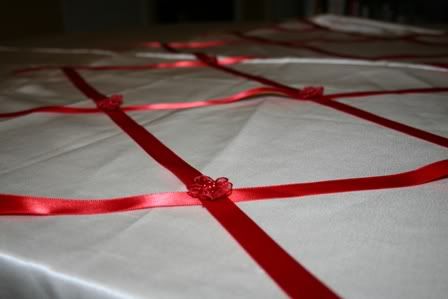
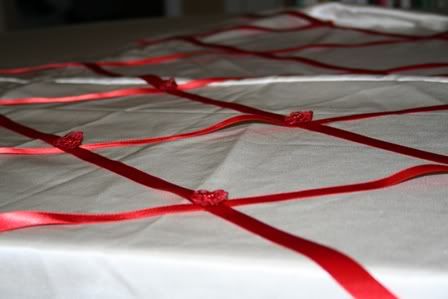
I tacked each ribbon at the intersections and serged the top edge, sealing the ribbons in place.
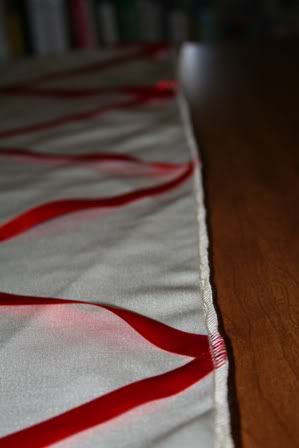
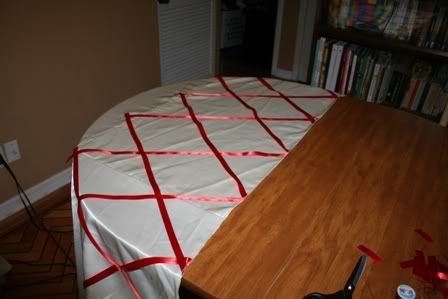
I had already cut and serged the satin for the ruffles - time to add the ribbon.
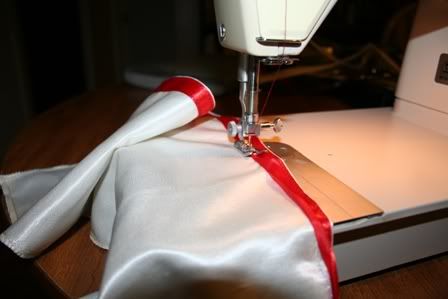
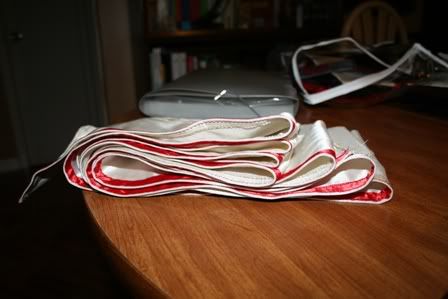
It doesn't look like much but it's about 20 feet long. And it's only the top ruffle - which is the shortest.
I layed out the piece to see which way I wanted to pleat the ruffles - left to right...
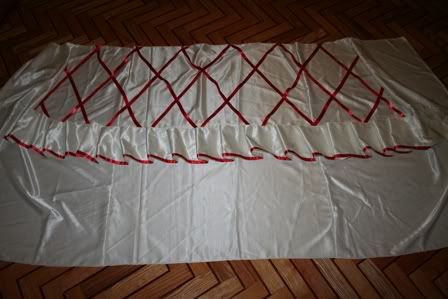
... or over-under.
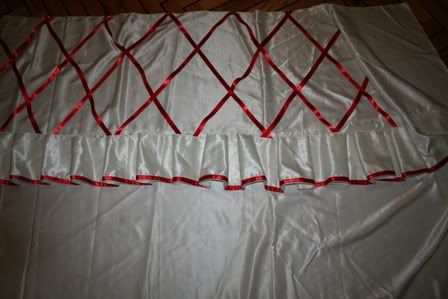
I went with over-under because I thought it matched the painting better.
That meant no pleating WHILE sewing - had to do it as a extra step.
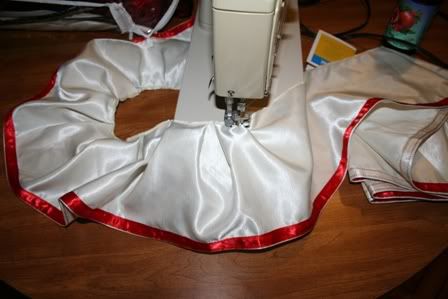
Step 200,342,656.2-A: attach first ruffle.
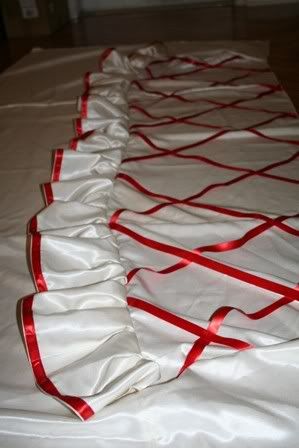
I wrapped it around the dressform just to see if it was going to work at all.
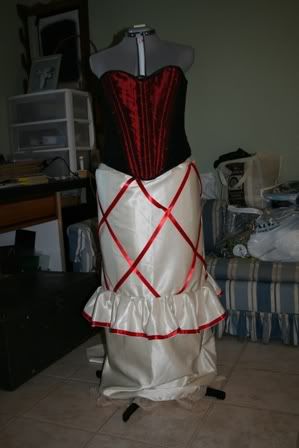
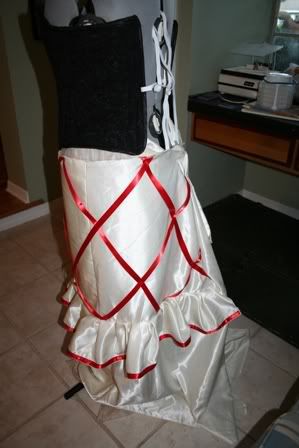
The ribbon sections overlapped this way, but I was leaving room in the back for the last panel which still isn't attached.
That will be the bustled section.
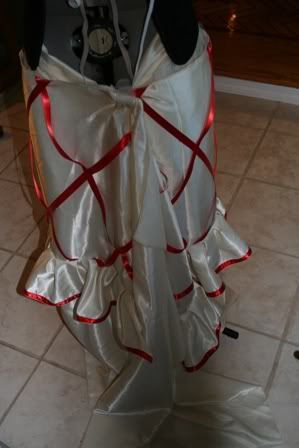
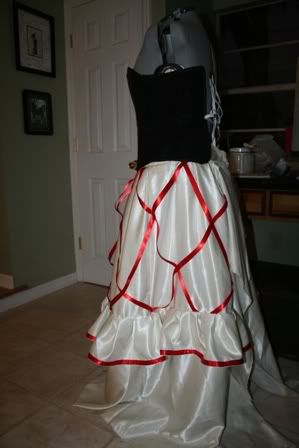
I connected the top layer to the bottom two layers at the waistband.
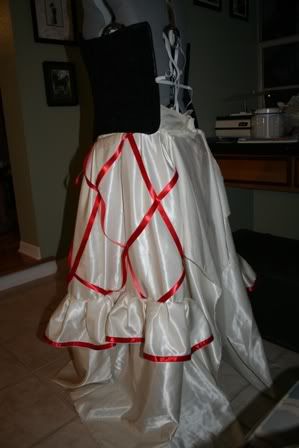
Then today, I FINALLY got the rivets put on the corset and I couldn't resist seeing if it fit.
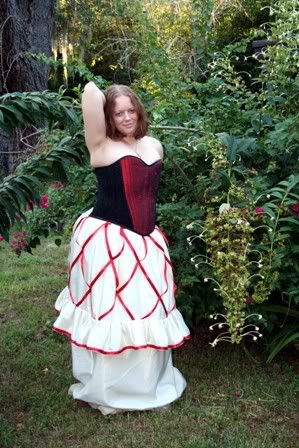
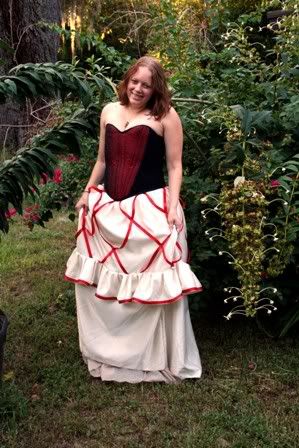
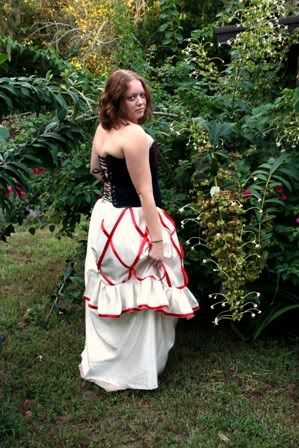
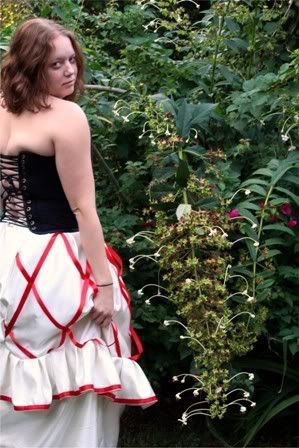
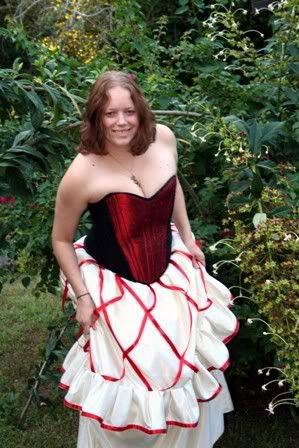
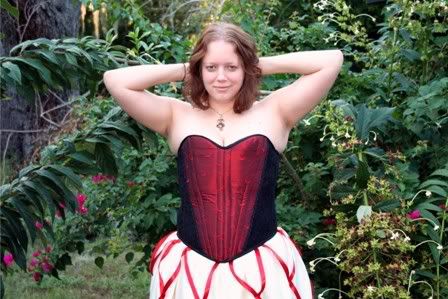

~boob alert~

SO, For the rest of stage 2, I have to -
1) Add 4 more layers of ruffles
2) Sew the crinoline into the outer layer so it stays where it goes
3) Make the bustle and connect it to the rest of the underskirt
4) Hem the voile to the satin at the bottom
5) Thread the elastic and tack the ribbon intersections with little red flowers
Then it will be on to stage 3!
*dies*
Go on to Underskirt part 2