(no subject)
to

to

I used PSP9 for these two tutorials. Can be translatable in other programs.
Okay, so first I got my picture and resized it but I didn't sharpen it because I liked the soft effect. Once you've done that Duplicate the base three times all set to Screen.
Now make a new raster layer and get a light blue color. I used #9bd9f3 and set it to Burn.

Final step: Go to Layers -> New Adjustment Layer -> Hue/Saturation/Lightness
Saturation on +45
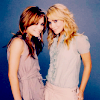
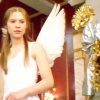
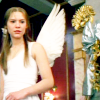
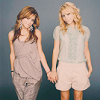
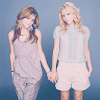
Other icons using this coloring


-------------------------------------
First I got my picture and resized it and this time I sharpened it
Duplicate and set to screen

#0b232c set to Exclusion

#9ebbff set to Softlight
Now press Shift+Ctrl+C and then Ctrl+L and set to Burn
[It's just the same as Flatten Image and Duplicating the layer and set to Burn]

#9effc6 set to Soft Light 50%
Now go to Adjust-Brightness/Contrast-Curves
Now I used the same Curves setting as

hollowwinsidex tutorial here
RGB - 135,120
Red - 100,144
Green - 122,135
Blue - Empty

Thougt it was too bright now I duplicated the layer and set to Multiply 50%
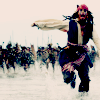
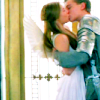
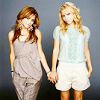
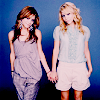
Other icons using this coloring