kotono: step 11
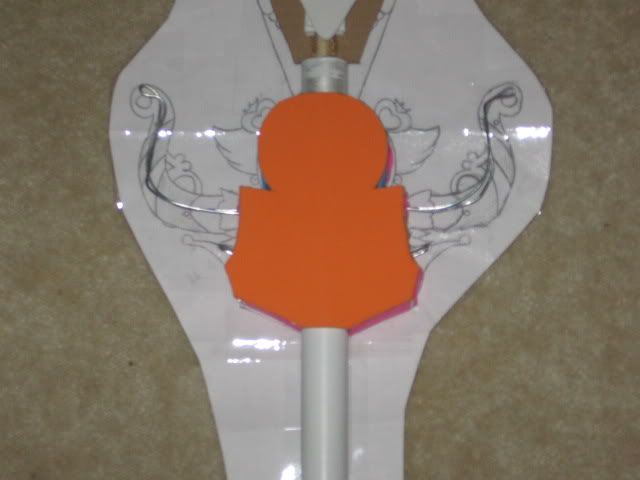
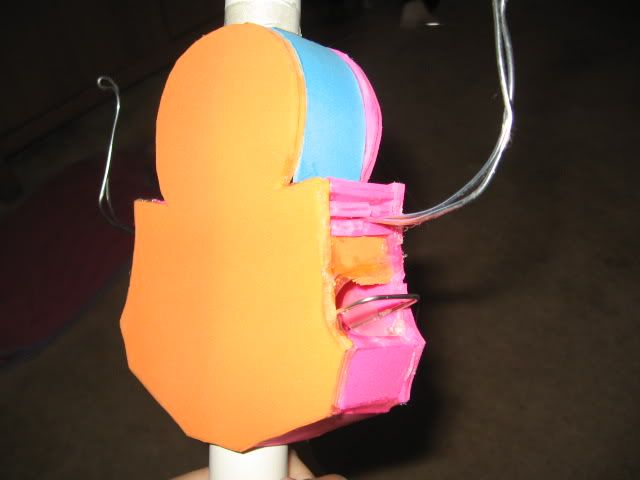
By the way, the boo boo has been completely repaired. I wasn't able to get my drill in (the big clunky thing! *sigh*) so I bent some wire and glued it in with some hot glue. For others, though, I do recommend the drilling/wire method like in step 2.
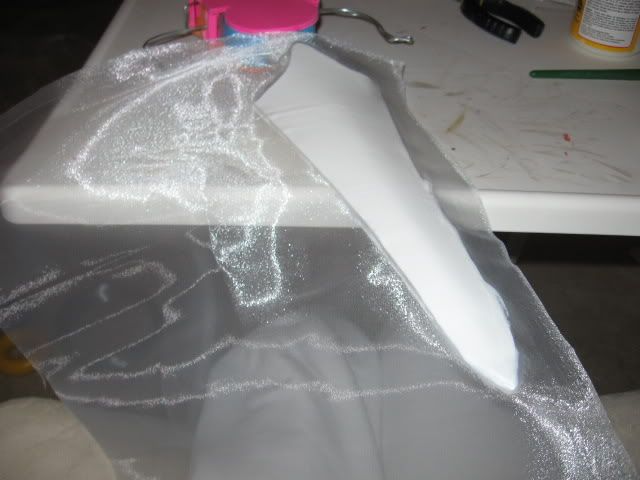
Okay, the first thing to do is cut out an approximate piece of organza that will cover one side of the blade. Press out the wrinkles (do this with every piece you paste on for stiffening purposes, I may not remember to always say it, but it's understood that it must be done or you're gonna kick yourself) and paste it on with a wide brush, modge podge, and smooth strokes in one direction (I did base to tip.) As you can see in this picture, I didn't exactly trim off the excess, because I was trying a different method initially (it failed! HAHA! ^///^) but trust me, trim all that off. Also, when pasting with the modge podge, go over the foam a little bit all the way around. It will make close trimming easier because the fabric will be nice and stiff and won't fray later.

Let the modge podge dry completely (at this point, it was overnight for me). Trim away the excess. If you had some modge podge over the foam line, this shouldn't be too much of a headache beyond finding a good pair of scissors to do it with. Go all the way around, including the curve at the base. Go slow, take your time, and try not to clip any of the foam. Get as close as you can.
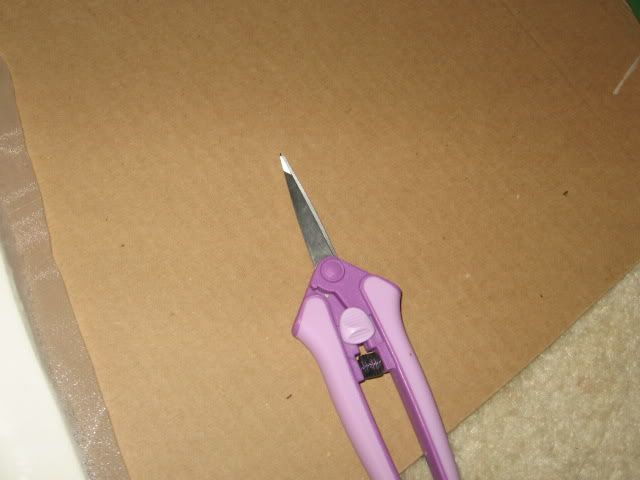
This is my preferred pair. They're small, sharp and have a super fine point (I have scars. Wanna see? :P). I use these for a number of projects, from trimming excess resin on eternal senshi earrings to this kind of thing right here. I love them to pieces and if I ever lost them, you can bet that I'd fork over another $30 for an extra pair (with a Joann coupon handy, of course). Not to mention they're spring loaded and lock in place for nice storage in my spinning paint brush caddy. ^___^ Would you believe these are actually made for quilters? Those old ladies get all the best stuff! MOVING ON!
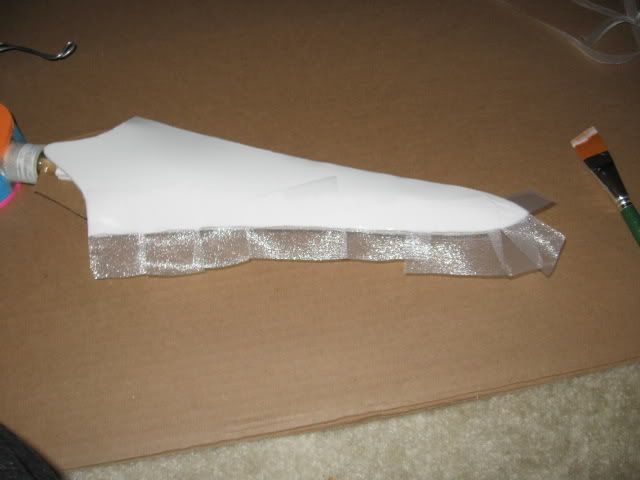
Okay, at this point, both sides of the blade have had one layer of organza. Now it's time to work on those edges. Here's step one of that. Little bitty strips, half pasted on with modge podge. In this case, DO NOT go over the foam edge with the modge podge like you did before. You will NOT be trimming off the excess here, so you don't want to do that this time. ONLY PUT MODGE PODGE WHERE FABRIC MEETS FOAM AND NO MORE. I cannot stress that enough. Okay, ya got that? Good. Let these dry completely before continuing.
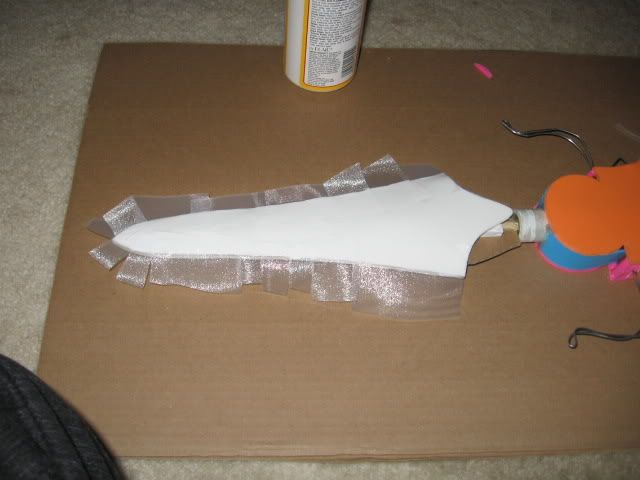
Oh by the way. I have decided to glue the base of the blade to that foam platform mentioned at the end of step10. So if you're following along and doing this yourself, you will want to do that at this point. Use super glue or something. Knock yourself out.
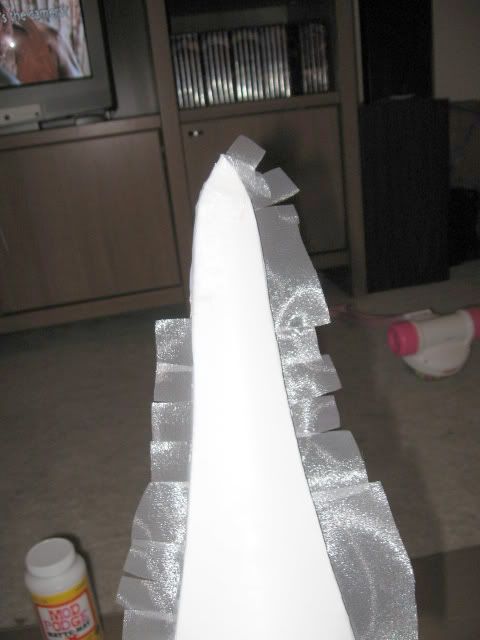
Flip it over and one by one, glue the strips of organza down with a dab of super glue. Here's the method I used. Pull the organza tight, snip away any excess that hangs off the edge of the blade, and put a dab of super glue down for an immediate bond. Press through with a paper towel. Dragging doesn't work so well. Press lightly and for a short period, otherwise you'll glue your paper towel to the sword, too. Change your paper towel out regularly to avoid gluing your finger together. I'm sporting some glue fingers tonight because I forgot about that. ^^; Whoops!
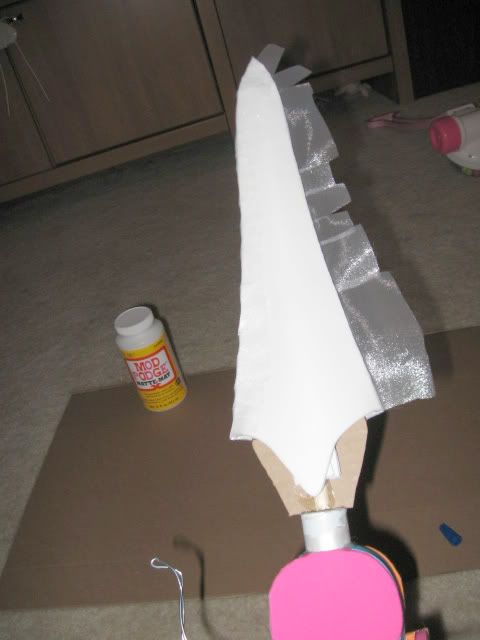
Work one side at a time.
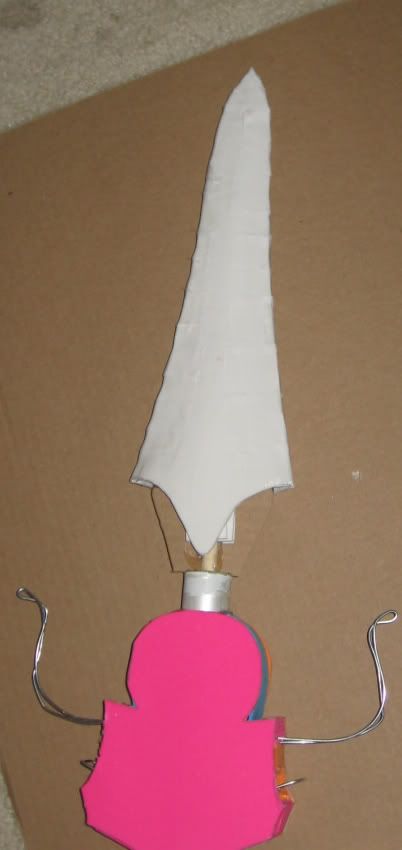
Once you have it all glued down, go back with modge podge. Be sure to get the edge of the blade (the part that supposedly "cuts"), too. Unfortunately, this side of the blade is left rather bumpy now. I'm okay with this, as reference pictures suggest a faceted appearance. If you're not and would rather have a smooth blade, you can forgo wrapping fabric around the edge of the blade and instead, just put some puff paint along that part to fill in the crater between the two pieces of foam.
Once this dries, go back and do another 2 layers of organza to each side of the blade (see pictures 3 and 4 of this entry). You will not need to do the "wrap around" effect again, but be sure to continue to add more modge podge to the area as this will contribute to the stiffening process. If you desire, you may wish to add a thin strip of organza to just the edge of the blade for a smoother appearance (I know I will!).
Proceed to Step 12a