[2] Tutorial: Kyuubi Naruto
Another tutorial from me. ^^ This time we'll be focusing on the magic of desaturation when coloring manga icons and, of course, enhancing it with textures.
Mmm.... ferocious little guy, isn't he?
Program: Photoshop CS2
Difficulty: uh... medium? If you've got coloring down, then this shouldn't be hard.
Start!
Crop your image however you want. My tip is to always start with a large image. It gives the best detail when you resize. ^_^
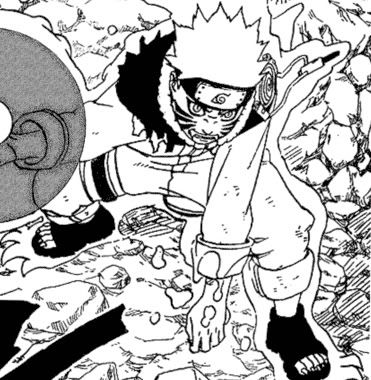
Step 1
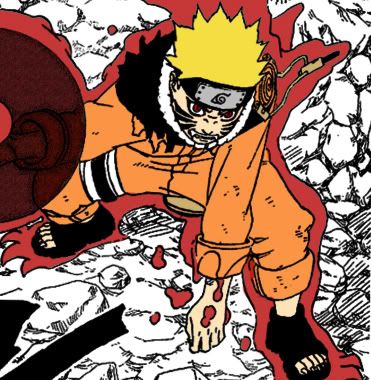
Color your image. Color it boldly! Now, that doesn't mean your colors have to be obscenely bright... just bold. It might look a little icky (like the picture below) but we'll make it better. ^^ (If you want tips/directions on coloring, look at my previous tutorial.)
Step 2
Crop and/or resize your image however you want.
Step 3
But ugh.... goodness, it's annoyingly bold, isn't it? Well, let's fix that-- it's desaturation time!
a) Go to: Image >> Adjustments >> Hue/Saturation, apply these settings:

Result: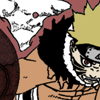
Step 4
Now, we're going to mute it even more. Duplicate the image layer, bring it to the top.
a) Go to Image >> Adjustments >> Desaturate
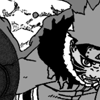
b) Change the layer blend mode to 'Screen' and then reduce the opacity to 70%.
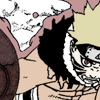
Step 5
Time to start finishing things up, using this texture by ashke_icons:
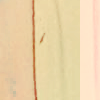
a) Copy and paste the texture onto a new layer over your image. Set the blend mode to 'multiply.'

And we're finished! That is... unless you want to add text. This is completely optional of course, and you definitely don't have to do it my way.
Adding Text
1) Before adding your texture, create a new layer. Use the brush tool to make a base for your text.
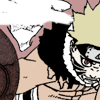
2) Add the text.
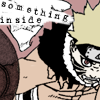
3) Add the texture.
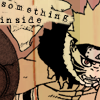
So... that's it! Of course, these directions aren't a must-follow thing. Please, mix it up however you want! ^_^ I'd love to see your results! Thanks for reading ^^

Mmm.... ferocious little guy, isn't he?
Program: Photoshop CS2
Difficulty: uh... medium? If you've got coloring down, then this shouldn't be hard.
Start!
Crop your image however you want. My tip is to always start with a large image. It gives the best detail when you resize. ^_^

Step 1
Color your image. Color it boldly! Now, that doesn't mean your colors have to be obscenely bright... just bold. It might look a little icky (like the picture below) but we'll make it better. ^^ (If you want tips/directions on coloring, look at my previous tutorial.)

Step 2
Crop and/or resize your image however you want.

Step 3
But ugh.... goodness, it's annoyingly bold, isn't it? Well, let's fix that-- it's desaturation time!
a) Go to: Image >> Adjustments >> Hue/Saturation, apply these settings:

Result:

Step 4
Now, we're going to mute it even more. Duplicate the image layer, bring it to the top.
a) Go to Image >> Adjustments >> Desaturate

b) Change the layer blend mode to 'Screen' and then reduce the opacity to 70%.

Step 5
Time to start finishing things up, using this texture by ashke_icons:
a) Copy and paste the texture onto a new layer over your image. Set the blend mode to 'multiply.'

And we're finished! That is... unless you want to add text. This is completely optional of course, and you definitely don't have to do it my way.
Adding Text
1) Before adding your texture, create a new layer. Use the brush tool to make a base for your text.

2) Add the text.

3) Add the texture.

So... that's it! Of course, these directions aren't a must-follow thing. Please, mix it up however you want! ^_^ I'd love to see your results! Thanks for reading ^^